WarpStudio is now bundled with Warp 10, discover our brand new Web IDE.
Discover WarpStudio our brand-new Web IDE dedicated to Warp 10 and WarpScript.
Available online since a couple of weeks here (https://studio.senx.io/) WarpStudio is now available with Warp 10 since 2.1.
It is time to reveal all the secrets of our brand-new Web IDE.
Installation
Our IDE is no more bundled with Warp 10 standard archive, but with our Docker image.
You can install it with WarpFleet:
wf g io.warp10 warp10-plugin-warpstudio \
(out)  --confDir=/path/to/warp10/conf.d \
(out)  --macroDir=/path/to/warp10/macros/ \
(out)  --libDir=/path/to/warp10/libs
The interface
The first thing is to master the "main features" buttons.

WarpScript
Code
This is our WarpScript editor. You can select your Warp 10 instance.
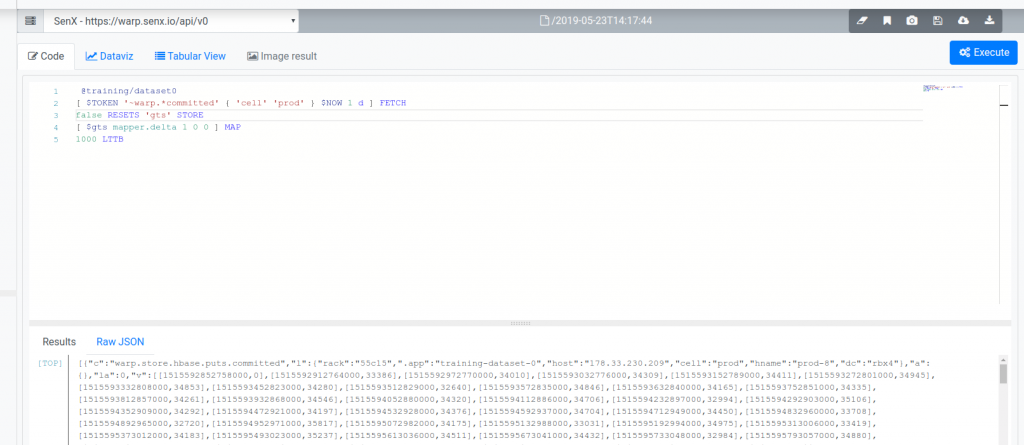
Type your WarpScript in the editor area and click on "Execute". The result is displayed below in two ways:
- "Results": stack formatted result
- "Raw JSON": the result is pasted in a web IDE, so you can copy or format it.
Dataviz
Once you executed the code, you can visualize the result (depending on if it is a GTS or a compliant format).
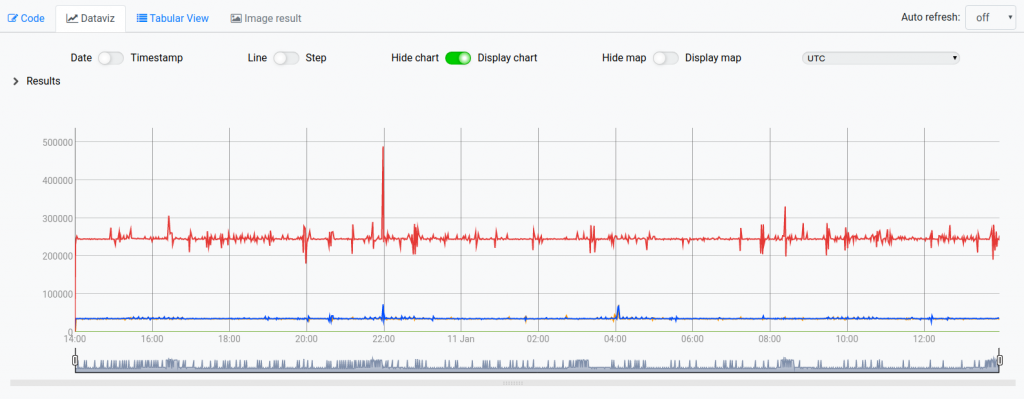
You can switch from date to timestamps, switch to a stepped chart, display a map or choose a timezone. And also trigger an auto-refresh.
You can zoom and pan the chart, select an area and navigate through the time span.
Chart interaction model:
- Alt + Mouse wheel: Zoom
- Click + drag: Select to zoom
- Shift + Click: Pan
- Double Click: Reset zoom
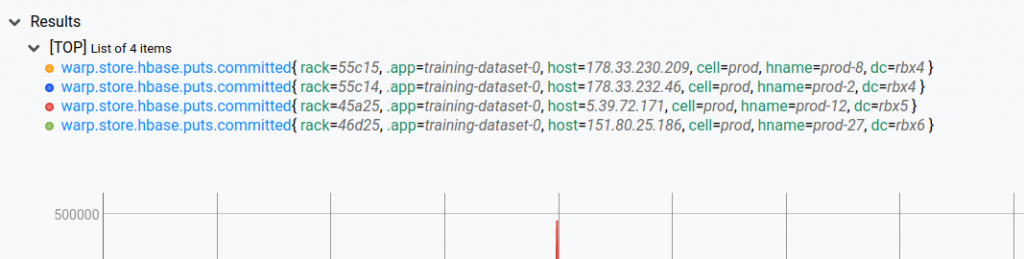
You can also visualize a hierarchical result tree by expanding "Results".
You can use some keyboard shortcuts:
- ?: This help
- a: Select all GTS
- n: Select none
- /: Select by regexp
- s: Open the GTS selection popup, use space to toggle the selection
- j or ↑: Navigate up in the GTS selection popup
- k or ↓: Navigate up in the GTS selection popup
- r: Resend WarpScript
- e: Edit WarpScript
- b: browse GTS one by one. MAJ+B to reverse browse.
- t: generate a TIMECLIP code from the current x-axis zoom.
Tabular view
This view displays the result in a raw data table.
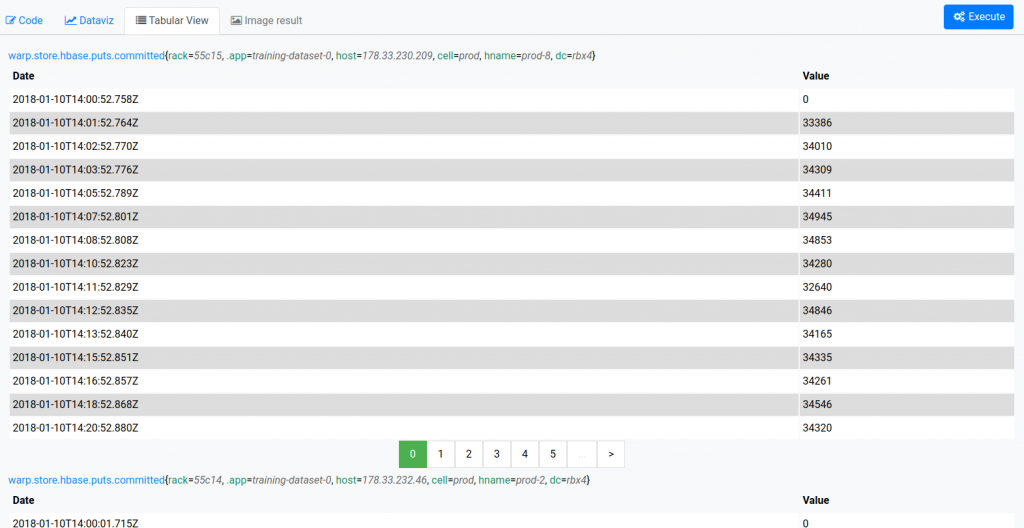
Image results
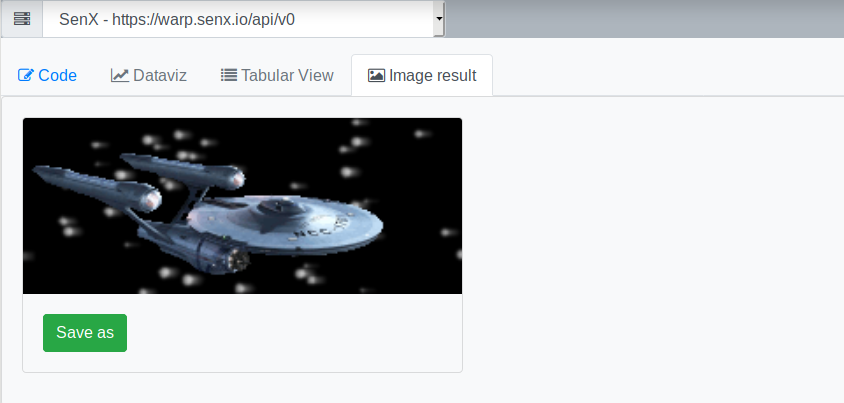
If your results are images build with the processing functions, you can display them here.
Contextual actions

From left to right:
- Clear editor: empty the editor and will ask you to save your code in the Scratchpad (see below)
- Add to Scratchpad: keep your code in the editor and add it to the Scratchpad (see below)
- Get Snapshot: Snapshots are stored on SenX servers, do not use this feature if this is a concern to you. It generates a permalink to share your code or an execution result.
- Save WarpScript as: asks you for a file name and a path and stores it into the File Explorer (see below)
- Export WarpScript: saves the WarpScript in a mc2 file on your computer
- Export result as JSON: saves the result in a JSON file on your computer
File Explorer
This is a virtual drive (data are stored in your browser local storage) where you can store WarpScripts into a directory based tree.
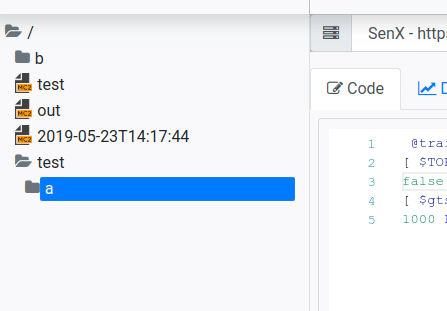
You can:
- Drag'n drop files and folders to rearrange the tree
- Export, rename and delete nodes
- Load a WarpScript into the editor
Scratchpad
This is a small history (keep only the last 10 pads) of saved Scratchpads. Your WarpScript is automatically saved here when you switch to another feature or when you store it manually.
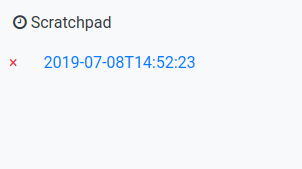
At any time, you can delete a pad or load a saved WarpScript into the editor by clicking on the pad"s name.
| Discover WarpStudio in standalone mode |
Explore
This is a good way to explore a data-set.
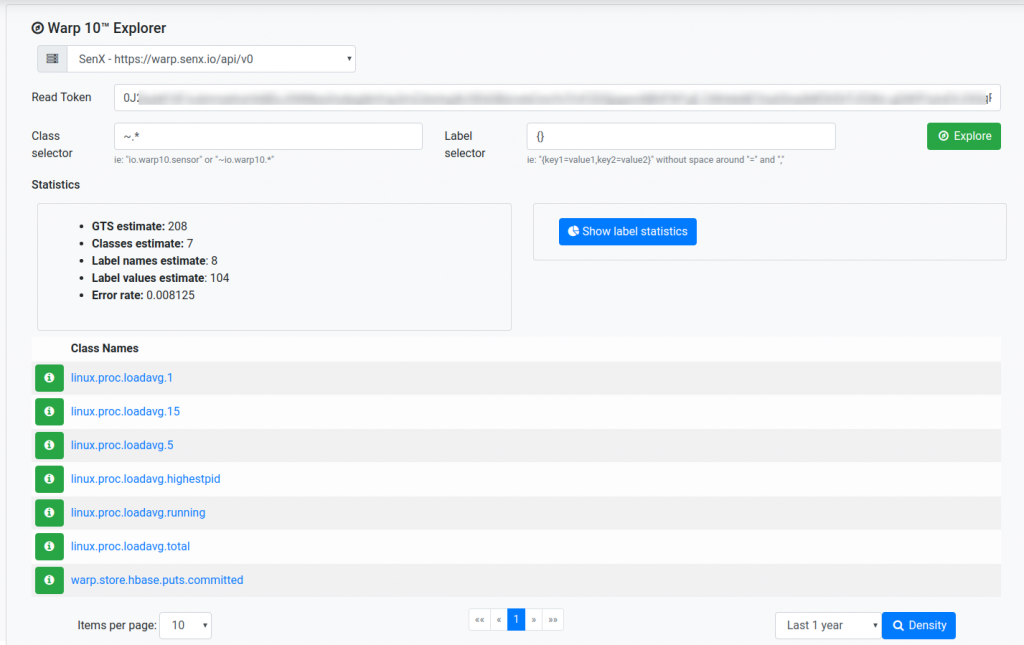
Set your read token and optionally a class name and a label selector, then, click on "Explore".
It will display you some metrics about your data-set. This is a good start to investigate cardinality issues for instance. You can also display a density chart (could take time depending on your data-set) to have a better vision of the time-based spreading of data.
Update
With this form, you can upload data into a Warp 10 instance. You can paste Compact Input Format in the text area or directly load a file.
Fetch
You can easily use our Fetch API by filling this form. WarpStudio provides you the cURL command corresponding to your criteria.
Delete
You can easily use our Delete API by filling this form. WarpStudio provides you the cURL command corresponding to your criteria.
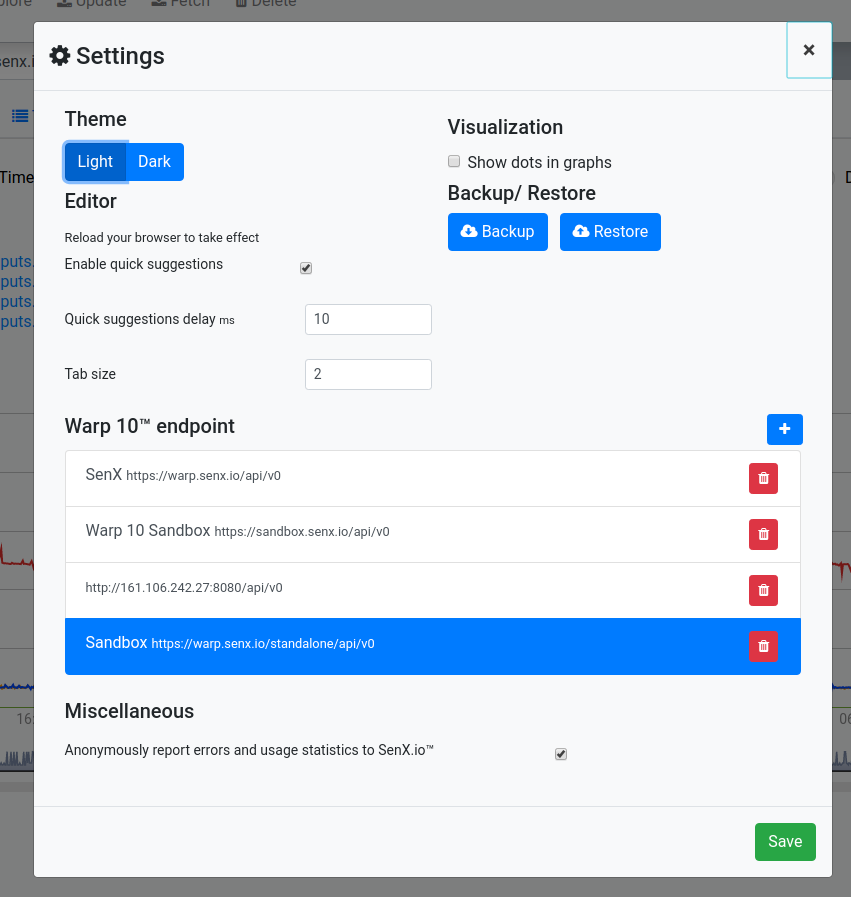
Settings

Click on the settings icon to manage your preferences and your Warp 10 instances.
It's up to you
It's up to you to author WarpScript and dig the value of your data.
Read more
WarpStudio in standalone mode
2021 recap: new functions and tools in the Warp 10 Platform
Santa's Workshop, a Digital Twin dashboard from an SVG

Senior Software Engineer